

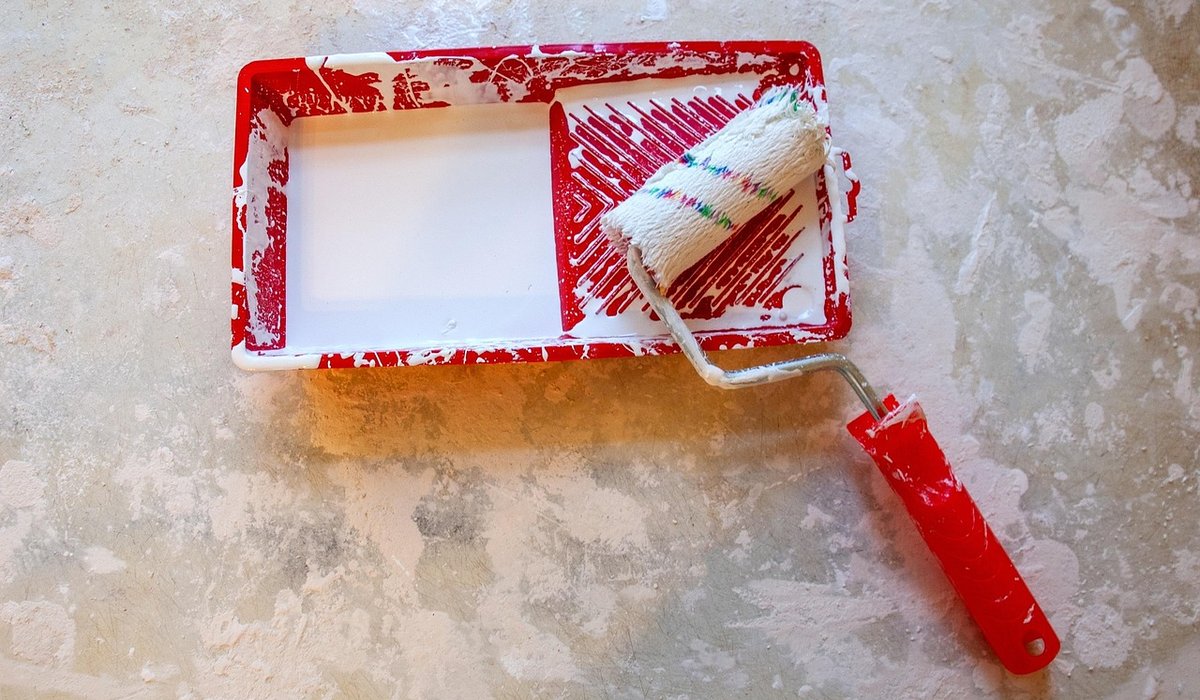
Painting your kitchen cabinets in place is one of the great money-saving DIY jobs, and it is perfectly achievable for a beginner. The big advantage of leaving the doors on is that you skip the fiddly business of unscrewing hinges, labelling doors, storing them flat somewhere out of the way, and then getting them all back on straight. For a typical run of eight or ten doors, that alone can save you a full weekend.
The trade-off is that you have to work more carefully. You cannot lay a door flat on trestles, so you need to paint around hinges and handle holes without smearing the frame. It is also slower, because you can only paint one face of each door at a time.
This approach suits solid, shaker-style doors in reasonable condition, and it is ideal if your cabinets are sound but simply dated or scuffed. It is less suitable if the doors are warped, the frames swollen, or you are after a flawless sprayed finish. In those cases, take the doors off and do it properly.
Kitchens are awkward spaces to work in, so get everything together first and clear the worktops. You will need:
Buy decent brushes. Cheap bristles shed hairs into wet paint, and you will spend longer picking them out than you saved on the brush.
Kitchen grease is invisible and it will ruin your finish. Wash every surface you intend to paint with a sugar soap solution, then rinse with clean warm water and let it dry. Pay particular attention to the top edge of doors, around handles, and anything within a metre of the hob.
Next, remove all handles and knobs and put the screws in a jar so they do not vanish. Mask the hinges with tape rather than trying to paint around them, and run a strip of low-tack tape along the inside edge of the carcass so your brush does not slop paint onto the frame.
Then key the surface. Sand lightly with P120, followed by P240, working along the grain on timber doors. You are not trying to strip the old finish, just to dull it so the primer can grip. Fill any dents, chips or redundant screw holes with fine-surface filler, leave it to set, and sand it flush. Wipe away all dust with a damp cloth and allow everything to dry completely.
Primer is not optional, and it is where most beginners come unstuck. A shellac-based primer is the safest all-round choice: it grips hard, dries in around 45 minutes, and blocks any old grease, staining or dark colour that would otherwise bleed through your lovely new paint. If your doors are melamine, laminate or factory-finished, look for a primer specifically described as an adhesion primer.
Apply it thinly with a brush, working it into corners and mouldings. Resist the urge to lay it on thick — a heavy coat will run, sag and take days to dry. One thin coat is usually enough, though a second helps on much-handled areas. Once dry, give it a light rub with P240 to knock back any brush texture, then dust off.
Thin coats are the whole secret. Two or three thin coats will always beat one thick one, both in appearance and durability. Use a mini foam roller on flat panels and a brush for frames, edges and any mouldings, then lay off the roller marks with a light brush stroke in one direction.
Work in this order: carcass frames first, then the door edges and around the hinges, and the door faces last. That way you finish on the surface everyone sees, and any stray touches are cleaned up as you go.
Leave the recommended drying time between coats — usually four to six hours for a water-based cabinet paint, longer in a cold or damp kitchen. Lightly sand between coats with P240 if the surface feels rough, and wipe off the dust.
A water-based paint may be touch-dry in an hour, but it is not cured for around five to seven days. During that time it is soft and easily marked. Keep the kitchen ventilated, avoid steam baths from long cooking sessions, and open and close the doors gently.
A useful trick while the paint dries is to wedge a matchstick in the top corner of each door so it stays slightly ajar and does not stick to the frame. Remove the tape before the paint is fully hard, pulling it back on itself at a low angle for a crisp edge.
Refit handles after a day or two, tightening the screws gently so you do not crack the fresh paint. Then step back and enjoy it. The transformation is remarkable for the cost of a tin of paint and a couple of weekends, and nobody will guess the doors never came off.

Gladworkshop Simple, genuine and looked after with care — the kind of place worth returning to.

Gladworkshop We spend our time finding what works so you don't have to, and sharing exactly what made the difference.

Learn about drill bits, torque settings and basic safety habits before tackling your first hole in wood or masonry.

Comments
ALina Kelian
19th May 2018 ReplyGladworkshop An honest, everyday look at the things that make life a little better — with advice you can actually use. ullamco laboris nisi ut aliquip ex ea commodo consequat.
Rlex Kelian
19th May 2018 ReplyGladworkshop No rushing, no fuss — just thoughtful notes and practical help, written by people who care. ullamco laboris nisi ut aliquip commodo.
Roboto Alex
21th May 2018 ReplyGladworkshop Simple, genuine and looked after with care — the kind of place worth returning to. ullamco laboris nisi ut aliquip ex ea commodo consequat.